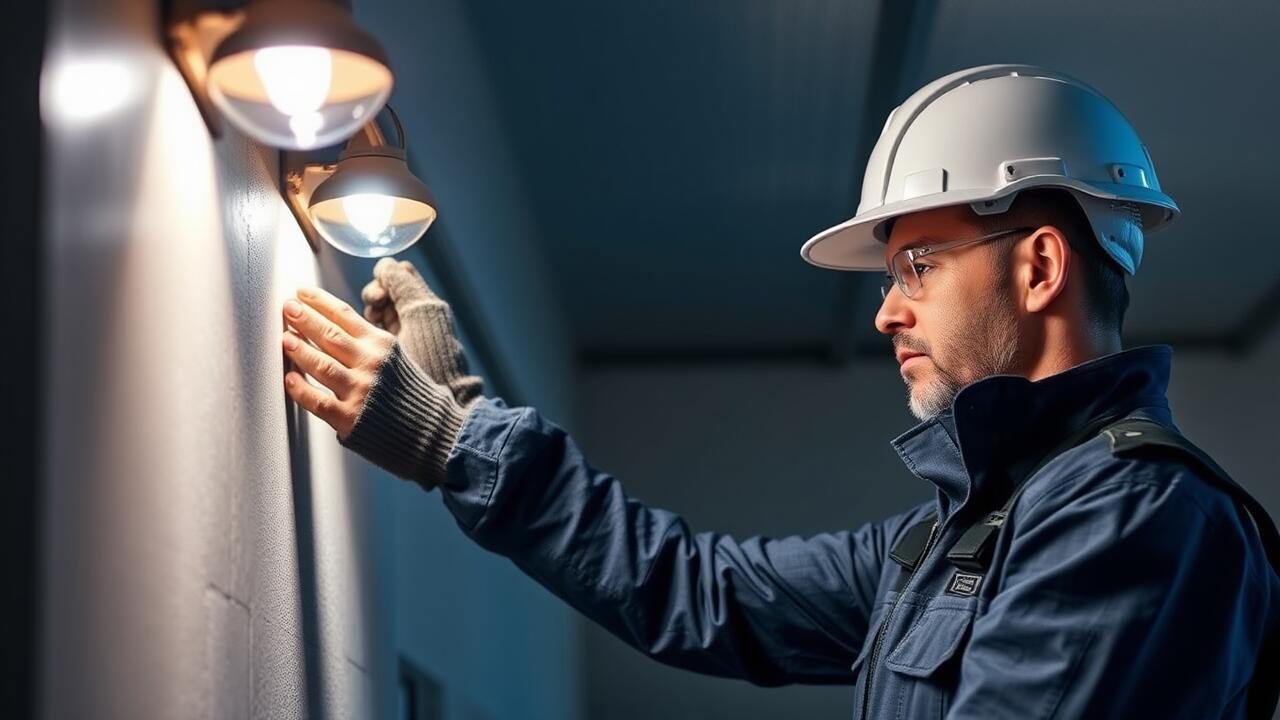
Turning Off Power Supply
Before embarking on any DIY residential lighting installation, it is crucial to turn off the power supply to ensure safety. Locate your home’s main electrical panel. Identify the specific circuit breaker that controls the area where you will be working. Flip the switch to the off position. This step helps to prevent any accidental shocks or electrical fires, providing peace of mind as you proceed with the installation process.
After turning off the breaker, it is wise to double-check that the power is indeed off. Using a non-contact voltage tester can confirm that electricity is not flowing to the fixtures or outlets you will be working with. This extra precaution is especially important in regions like River Oaks, Houston, where high humidity can affect electrical systems. Taking the time to ensure you are completely safe sets a strong foundation for your lighting installation project.
Steps to Safely Disconnect Electrical Circuits
Before starting any electrical project, it is crucial to ensure safety by disconnecting the power supply. Locate the circuit breaker panel in your home and switch off the specific breaker that corresponds to the area where you will be performing the lighting installation. Confirm the power is off by using a voltage tester on the existing fixtures. This step protects you from electrical shock and prevents damage to the fixtures.
After verifying the power is off, you can proceed to disconnect the existing wires. Carefully remove the cover plate if present and unscrew the fixture from the junction box. Use pliers to untwist the wire connectors and separate the wires. If you are working on a delicate wiring setup, take photos for reference later. Properly managing this process ensures a safer environment for your Lighting Installation in River Oaks, Houston.
Installing Ceiling Fixtures
Installing a ceiling fixture is a straightforward process that enhances both the functionality and aesthetic of a room. Begin by selecting a fixture that suits your space in terms of size and design. Ensure that the existing electrical box can support the weight of the new fixture. Use a voltage tester to confirm that power is off before proceeding with any work.
Once you have the right fixture and the power is turned off, you can start the installation process. Carefully connect the wires from the ceiling to the corresponding wires of the fixture, typically matching colors: black with black, white with white, and green or bare with the ground wire. Secure the fixture to the electrical box according to the manufacturer's instructions. Following these steps will contribute to a reliable Lighting Installation in River Oaks, Houston, ensuring a safe and stylish addition to your home.
Step-by-Step Guide for Proper Installation
Start by ensuring that you have all necessary tools and materials on hand. A screwdriver, wire connectors, and a voltage tester are essential for a successful ceiling fixture installation. Begin by carefully following the manufacturer's instructions for your specific ceiling light model. Securely attach the mounting bracket to the electrical box in the ceiling, allowing room for the fixture to hang freely.
Once the bracket is in place, connect the electrical wires from the ceiling to the corresponding wires on the fixture. Typically, this involves connecting the black (or red) wire to the fixture's black wire, and the white wire to the white wire. After making the connections, tuck the wires neatly into the electrical box before securing the light fixture to the mounting bracket. For those looking to enhance their homes, consider taking on a project like lighting installation in River Oaks, Houston, where local regulations might also provide specific guidelines to follow.
Installing Wall Lights
When installing wall lights, it is essential to start by selecting the right location. Consider both functionality and aesthetics when determining where to mount the fixtures. Mark the spots on the wall, ensuring they provide adequate lighting for the area. Use a level to guarantee proper alignment. Before proceeding, double-check that the electrical circuit is powered off to ensure safety during the installation process.
Next, you'll need to securely attach the mounting brackets. Follow the manufacturer's instructions for drilling holes and inserting anchors. Once the brackets are in place, connect the electrical wires from the wall to the light fixture, making sure to twist the corresponding wires together securely. After mounting the fixture, restore power to the circuit and test the wall lights. For expert assistance, many homeowners in need of professional guidance can find reliable services for Lighting Installation in River Oaks, Houston.
Techniques for Securely Mounting Fixtures
When mounting wall lights, selecting the appropriate hardware is crucial for ensuring stability and safety. Begin by choosing anchors that match the weight of the fixture. Heavy fixtures require robust anchors, while lighter options may only need simple screws. Drill pilot holes in the wall at designated points, ensuring you are anchoring into a stud wherever possible. This step significantly enhances the fixture's stability.
After securing the anchors, carefully attach the mounting bracket that typically comes with the light fixture. Use a level to ensure the fixture will hang evenly, which contributes to both aesthetics and function. Once the bracket is in place, wire the fixture according to the manufacturer's instructions. For those considering their own projects, resources on Lighting Installation in River Oaks, Houston, can provide valuable insights tailored to local guidelines and practices.
FAQS
What is the first step I should take before starting a DIY lighting installation?
The first step is to turn off the power supply to the area where you will be working to ensure your safety while handling electrical components.
How can I safely disconnect electrical circuits?
To safely disconnect electrical circuits, locate the circuit breaker that controls the area you are working in, switch it off, and use a voltage tester to confirm that the power is indeed off before proceeding with any installation.
What tools do I need for installing ceiling fixtures?
Basic tools required for installing ceiling fixtures typically include a screwdriver, wire stripper, electrical tape, a ladder, and possibly a drill, depending on the type of fixture and mounting method.
Are there specific techniques for securely mounting wall lights?
Yes, when mounting wall lights, ensure that you locate the wall studs for optimal support, use wall anchors if necessary, and follow the manufacturer's instructions for proper installation to maintain stability.
Can I install lighting fixtures myself, or should I hire a professional?
If you have basic electrical knowledge and follow safety precautions, you can install lighting fixtures yourself. However, if you are unsure at any point or if the installation involves complex wiring, it is advisable to hire a professional electrician.
