Replacing Worn or Damaged Wires
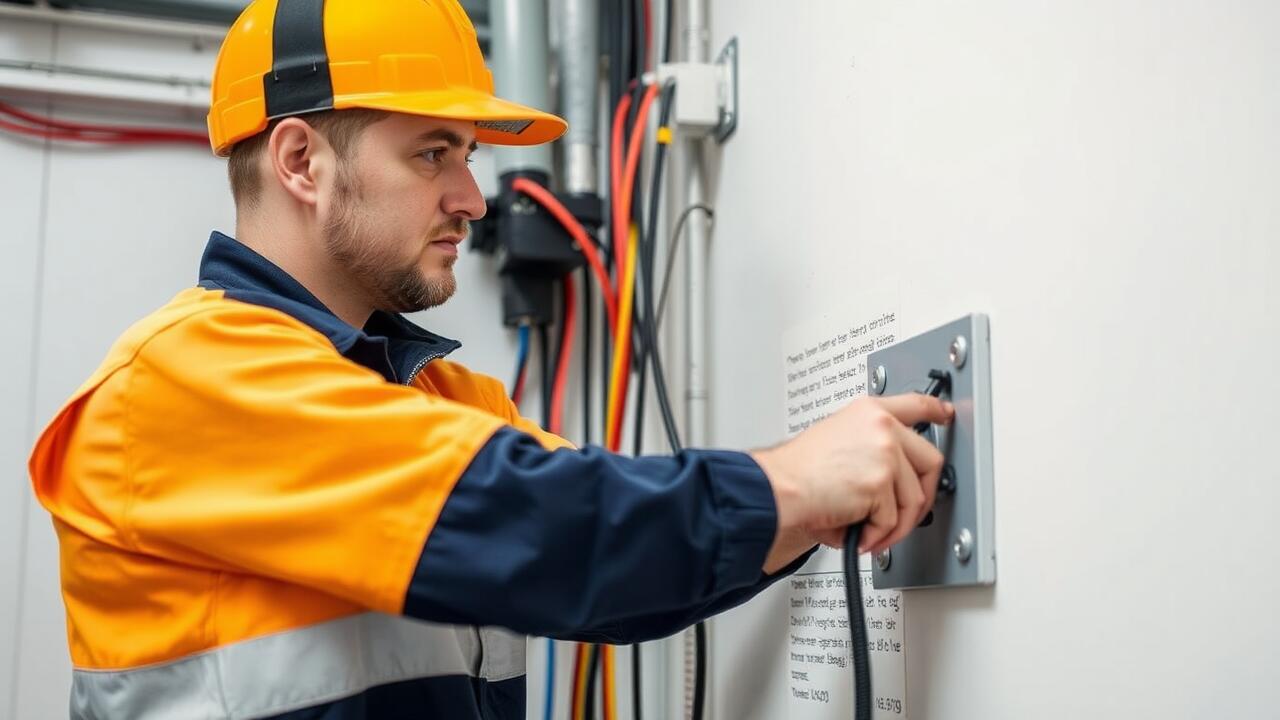
When dealing with ceiling fan wiring, it is essential to identify and replace any worn or damaged wires. Inspect the wires for signs of fraying, discoloration, or breaks. These issues can lead to poor performance or even short circuits, which may pose safety hazards. Carefully disconnect the fan from its power source before proceeding with any repairs. Having the right tools on hand, such as wire cutters and strippers, will facilitate the process of replacing these wires effectively. If you feel uncertain about the repairs, consider reaching out to professionals like Houston Electrical Repairs for assistance.
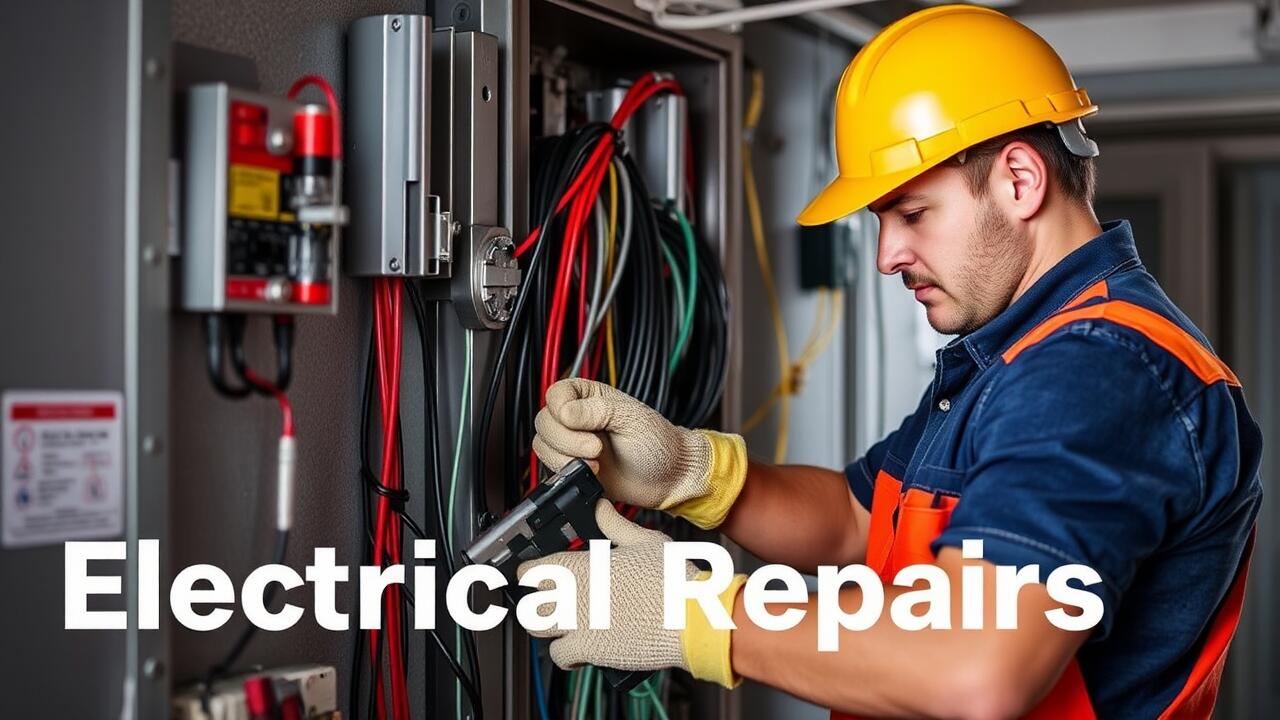
Replacing damaged wires typically involves cutting away the compromised sections and splicing in new wire. Use wire that matches the gauge and type of the original wiring to ensure compatibility. Stripping the ends of the new wire should be done carefully to avoid damaging the strands. Secure the connections with twist-on connectors, making sure they fit snugly to maintain a safe and efficient electrical flow. Maintaining proper insulation around the connections is also crucial for safety and to prevent future issues. Proper attention to detail during this process can significantly improve the functionality of your ceiling fan.
Types of Wires Used in Ceiling Fans
Ceiling fans typically use several types of wiring to connect to your home’s electrical system. The most common wire types include insulated copper or aluminum wires, which are used for carrying electrical current. The gauge of the wire is essential, usually ranging from 14 to 12 AWG (American Wire Gauge), depending on the fan’s power requirements. It’s crucial to select the appropriate wire size for safety and performance, as using a wire that is too small can lead to overheating.
When working with ceiling fans, it is also important to consider the wire color-coding conventions. Black wires typically indicate a hot wire, which is responsible for carrying current to the fan. White wires are generally neutral, while green or bare wires serve as ground wires for safety. For those in need of assistance with electrical repairs, companies like Bellaire West, Houston Electrical Repairs provide valuable expertise in ensuring that all wiring is done correctly and safely.
Properly Connecting Wires
Properly connecting wires in a ceiling fan is crucial for safe operation. When making connections, ensure that the wire ends are stripped adequately, exposing about half an inch of copper. This allows for a secure connection with minimal risk of electrical shorts. Always use appropriate wire nuts or connectors to join the wires. Each wire should be twisted together in a clockwise direction, ensuring they are securely fastened before covering them with electrical tape for added safety.
In Westchase, Houston Electrical Repairs, it is vital to follow color codes when connecting wires. Typically, black wires signify the fan's power supply, while white wires are the neutral connections. Green or bare wires act as ground wires. Make sure to double-check that all connections are tight and that there are no loose strands poking out. After completing the connections, it’s advisable to verify that no wires are pinched within the fan’s housing. This step helps prevent future electrical issues and enhances the longevity of your ceiling fan.
Techniques for Secure Wire Connections
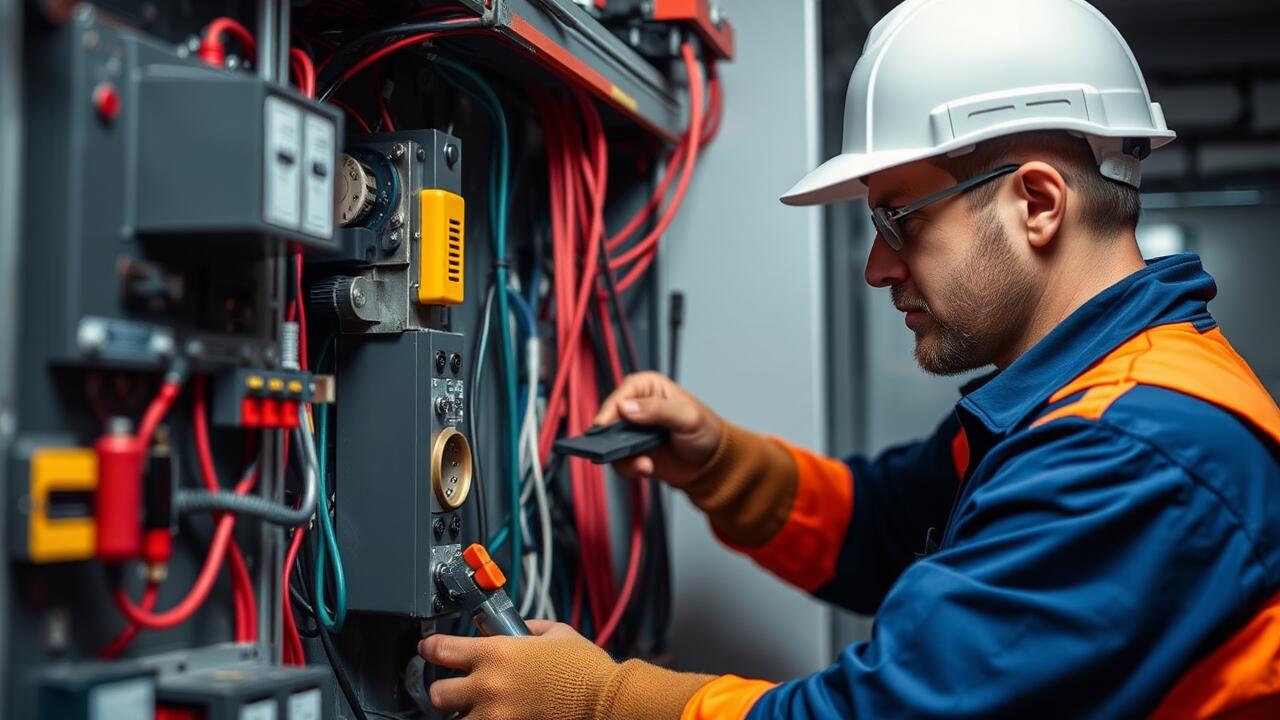
Achieving secure wire connections is crucial for the safe operation of a ceiling fan. One key technique involves twisting the wires together tightly before securing them with a wire nut. This method ensures that the wires make good contact while reducing the risk of them coming loose over time. When working with multiple wires, it’s essential to match colors properly—typically black to black, white to white, and green or bare to ground. Using the right tools, like pliers, helps to firmly twist the wires together for a strong connection.
Another effective technique is to use specific connectors designed for electrical connections, such as lever connectors or crimp connectors. These options provide a more durable connection than traditional wire nuts and can simplify the process. When undertaking any wiring project, including ceiling fan installations, reliability is paramount. For those in need of assistance, Houston Electrical Repairs offers expertise in ensuring that all connections are made accurately and securely, helping to prevent future electrical issues.
Testing the Ceiling Fan After Repair
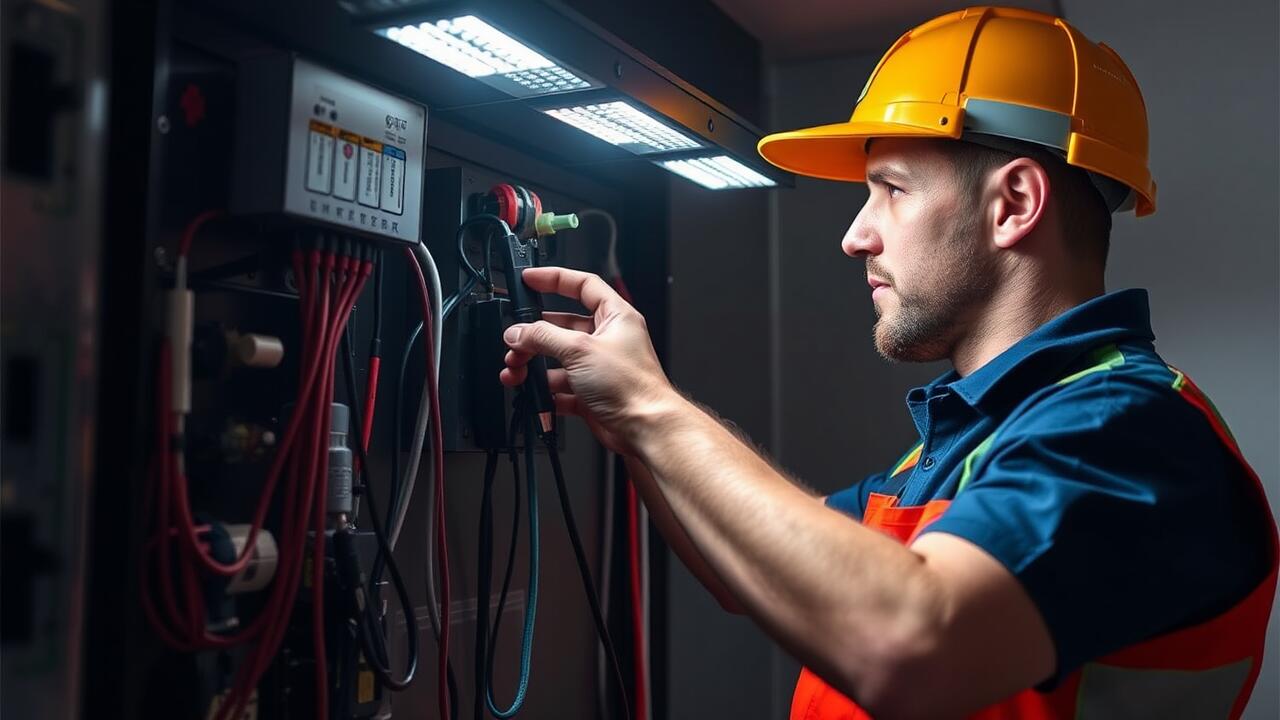
After completing the wiring repairs on your ceiling fan, it's essential to test the fan to ensure everything functions correctly. Begin by turning the power back on at the circuit breaker. Then, pull the fan's pull chain or use the wall switch to activate the fan. Observe whether it operates smoothly and listen for any unusual noises. Any signs of flickering lights or intermittent operation may indicate that the wiring connections are not secure or there may be other underlying issues needing attention.
If the fan starts without any issues, proceed to test different speed settings, if applicable. Make sure to run the fan for a few minutes to check for consistency in operation across all speeds. This step is crucial in identifying any electrical inconsistencies. In case of any complications, it might be advisable to consult professional services like River Oaks, Houston Electrical Repairs to ensure safe and effective troubleshooting.
How to Ensure Your Repairs Are Successful
After completing any repairs on your ceiling fan, it is crucial to test the system to ensure proper functionality. Start by restoring power to the fan and observing its operation. Listen for unusual sounds or vibrations, as they can indicate wiring problems. If the fan operates as expected, you can move on to checking the remote control and wall switch, ensuring everything is synced correctly. This process should help highlight any overlooked issues that may require further attention.
Documentation of your work can also enhance the likelihood of successful repairs. Take detailed notes on the type of wires used and any modifications made during the process. Should problems arise later, these notes can guide troubleshooting efforts. For more comprehensive inspections or repairs, consider consulting professionals like Houston Electrical Repairs. Their expertise can provide additional assurance that everything is functioning as intended.
FAQS
What tools do I need to repair ceiling fan wiring?
To repair ceiling fan wiring, you will typically need wire cutters, wire strippers, a screwdriver, electrical tape, and a multimeter for testing connections.
How can I tell if my ceiling fan wires are damaged?
Look for signs such as frayed or exposed wires, burnt marks, or a fan that is not functioning properly. If you have any doubts, it’s best to consult a professional.
Can I replace the wires in my ceiling fan myself?
Yes, if you have basic electrical knowledge and follow safety precautions, you can replace the wires yourself. However, if you are unsure, it’s advisable to hire a qualified electrician.
What types of wires are commonly used in ceiling fans?
Common types of wires used in ceiling fans include insulated copper wire, typically 14 or 12 gauge, and sometimes additional color-coded wires for specific functions like light kits.
How do I test my ceiling fan after repairing the wiring?
After completing the repairs, turn the power back on and use a multimeter to check for voltage at the connections. Also, monitor the fan for proper operation and listen for unusual sounds.
